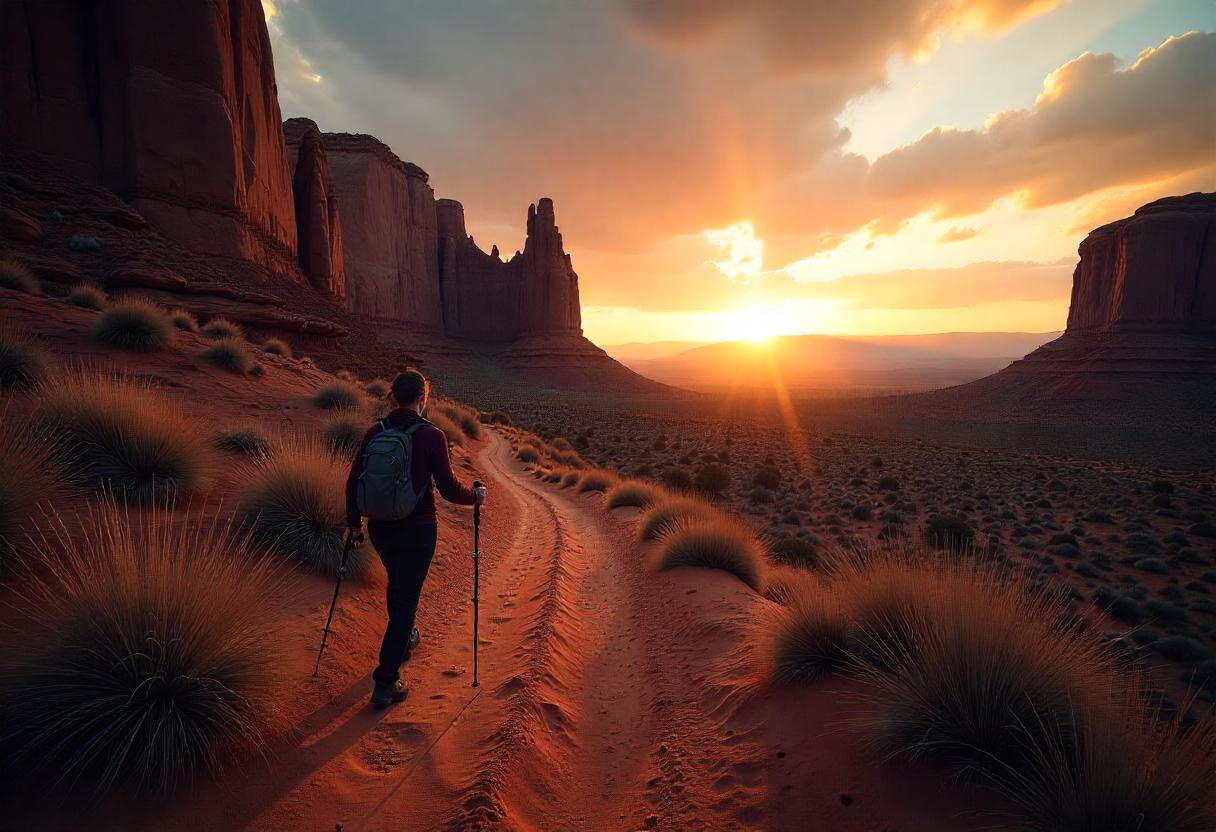
Best Hiking Trails in Moab
Arches National Park Hikes
This place is like nature’s own sculpture park, except instead of “do not touch” signs, you get to explore it all!
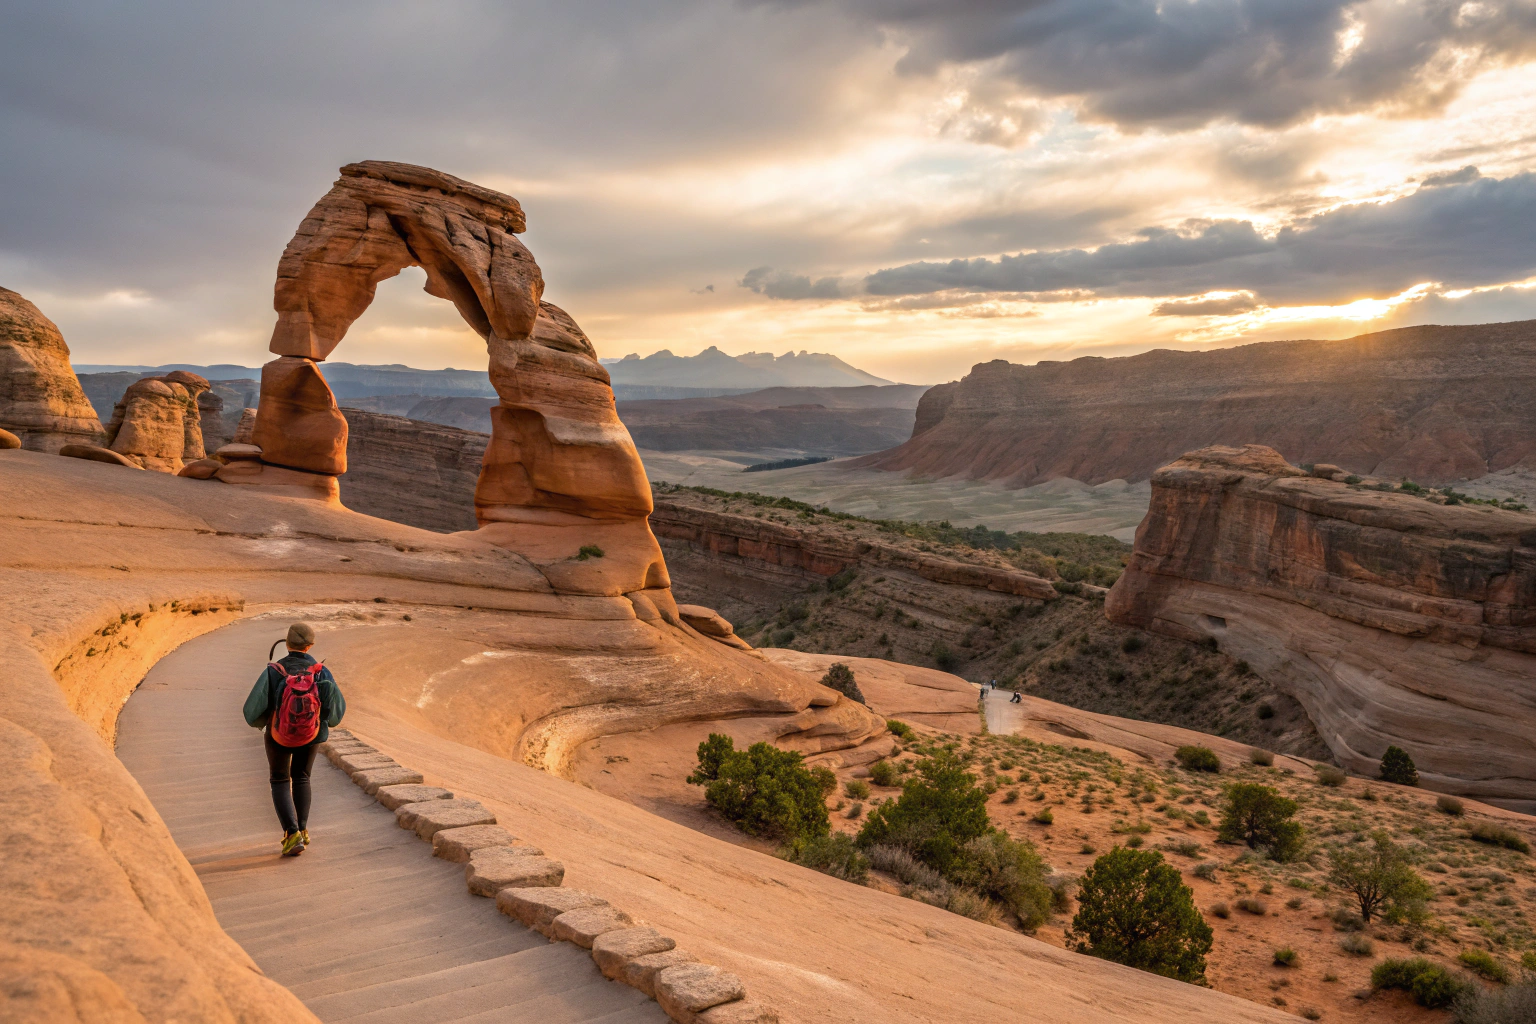
Delicate Arch Trail (3.2 miles, moderate)
Ah, the superstar of Utah! Delicate Arch is basically the Beyoncé of natural formations—everybody wants a selfie with it. The hike isn’t too bad, but there’s a steep section that’ll make you question your life choices. Push through! The reward is a breathtaking view (and bragging rights).
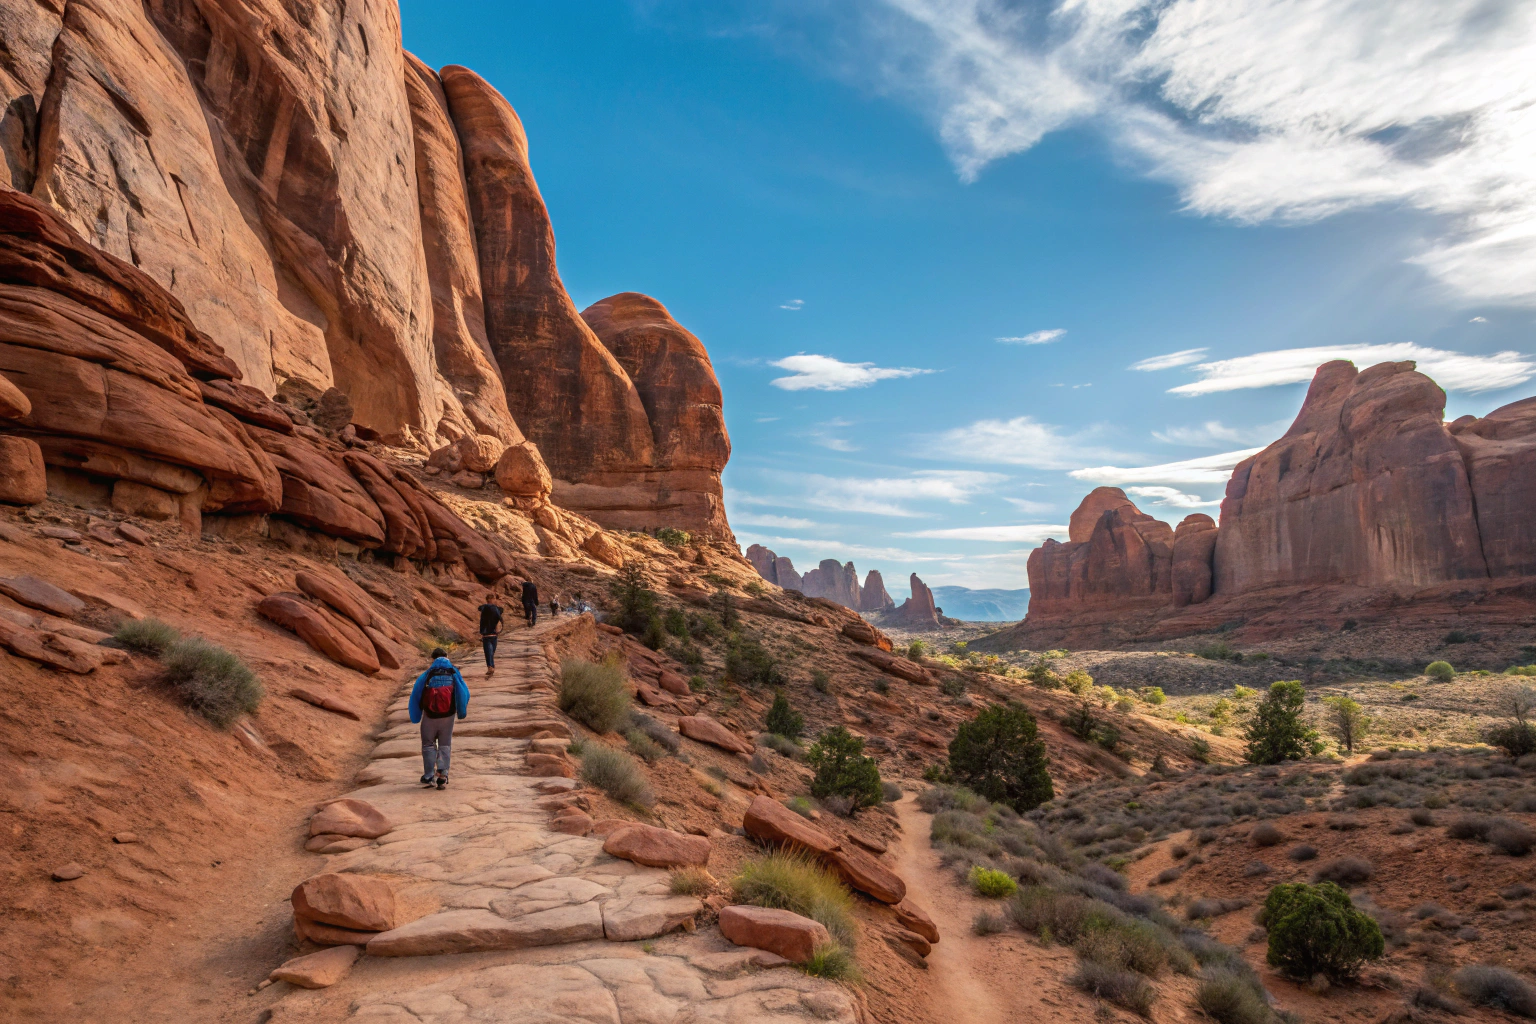
Devils Garden Trail (7.8 miles, difficult)
If you like your hikes with a side of adventure, this one’s for you. You’ll scramble, hop, and maybe even crawl your way through towering rock formations, with the stunning Landscape Arch as your prize. Pack extra snacks—this one’s a doozy!The Windows Loop (1 mile, easy)
If you’re in the mood for an easy yet super scenic stroll, this one’s a winner. It’s a short loop that takes you to the North and South Windows and Turret Arch—great spots to pretend you’re in a Western movie. Bonus: Your legs won’t hate you afterward!
Canyonlands National Park Hikes
Canyonlands is like Moab’s wild, rugged cousin—fewer crowds, bigger views, and way more “whoa” moments.
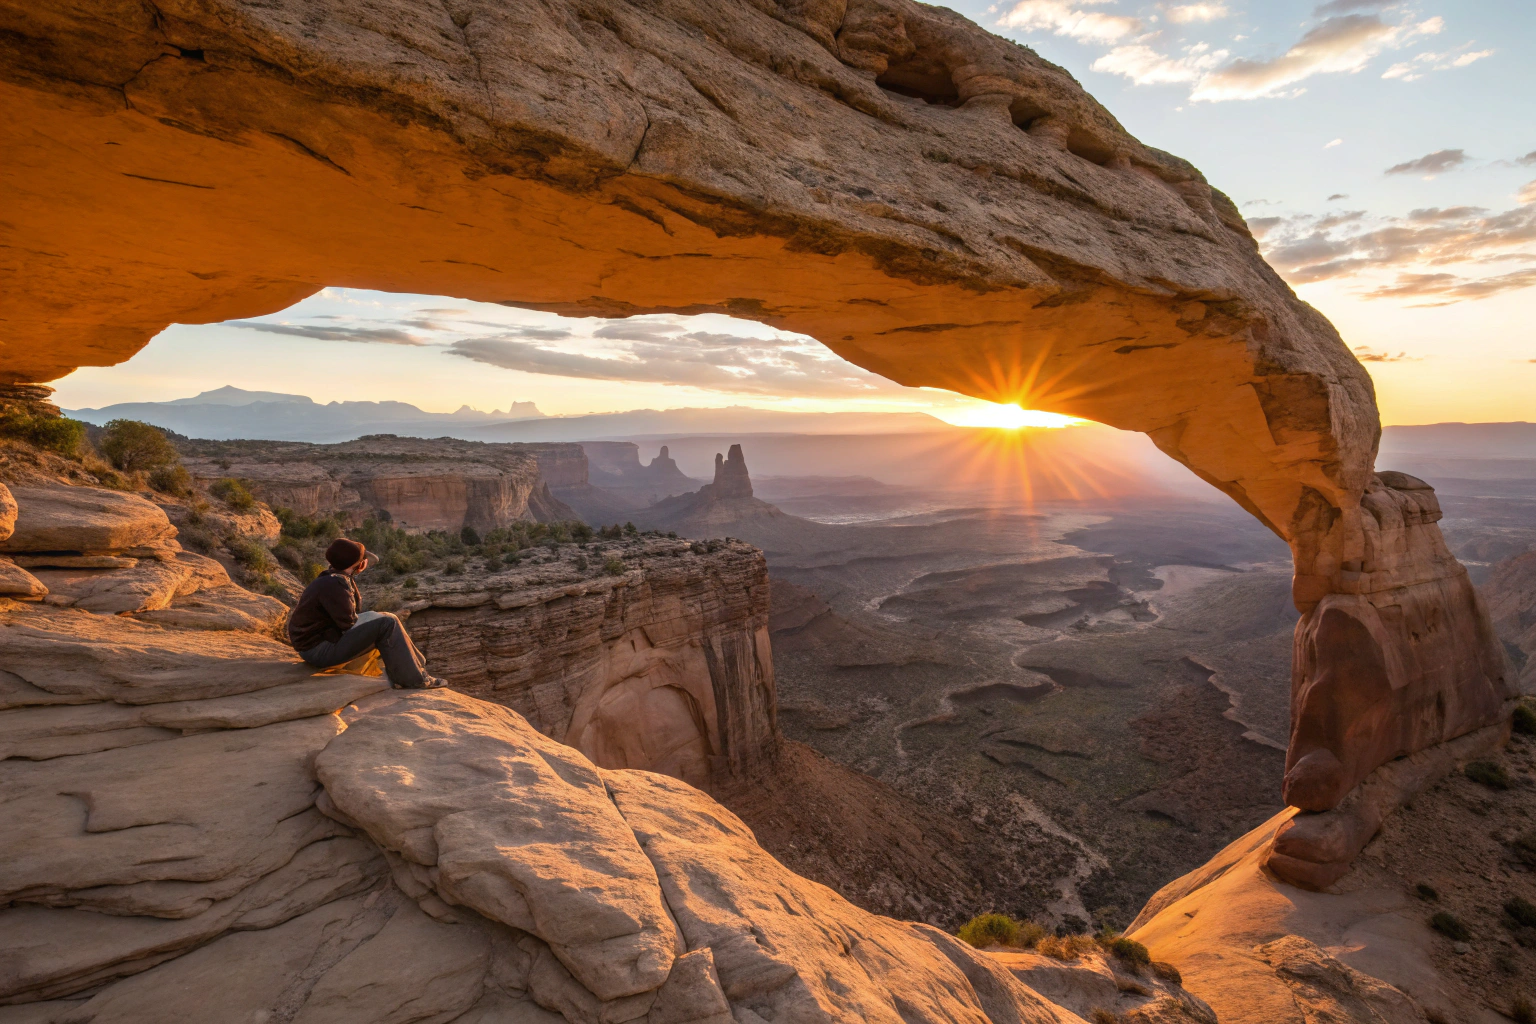
Mesa Arch Trail (0.5 miles, easy)
Picture this: The sun rising perfectly through a rock-framed window overlooking a canyon. That’s Mesa Arch. It’s a short hike, but if you time it right, you’ll get one of the best sunrise views of your life.Grand View Point Trail (2 miles, easy)
The name says it all! This trail is basically a highlight reel of Canyonlands. It’s an easy hike with unreal panoramic views. Warning: Your camera roll might fill up fast.Druid Arch Trail (11 miles, difficult)
Got energy to burn? This beast of a hike takes you deep into The Needles district, winding through canyons until you reach a towering arch that looks like something straight out of an ancient civilization. Bring lots of water—and maybe a pep talk for your legs.
Other Must-Visit Moab Hikes
Fisher Towers Trail (4.4 miles, moderate)
Imagine Mars, but on Earth. The towering sandstone formations here make you feel tiny in the best way possible. This is a great one for sunset lovers and dramatic Instagram shots.
Corona Arch Trail (3 miles, moderate)
Less crowded than Delicate Arch but just as stunning. There’s a little cable-assisted section that makes you feel like an adventurer (without the actual danger). Totally worth it!Negro Bill Canyon Trail (Grandstaff Canyon) (4.6 miles, moderate)
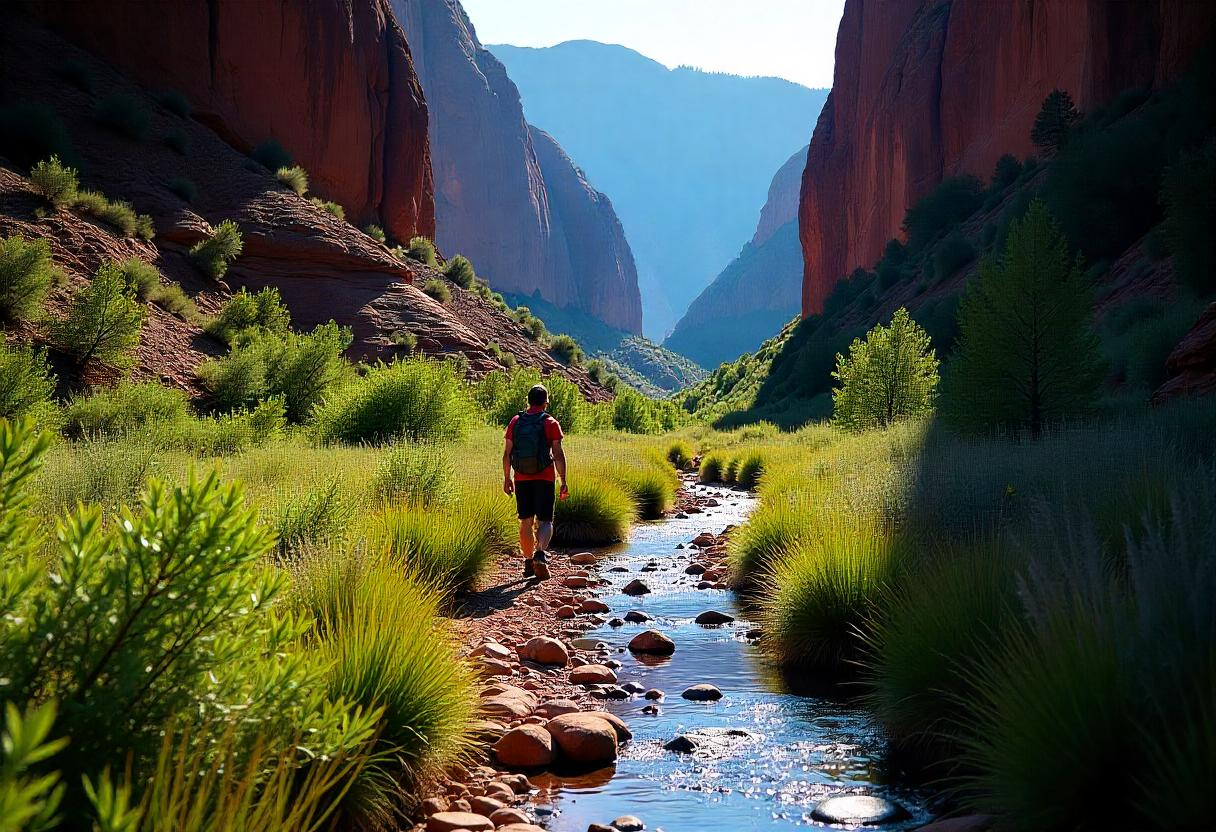
A shady canyon with a creek and one of the longest natural bridges in the country? Yes, please! This one’s a good choice if you want to stay cool while still getting your hike on.